Felt Ball Party Hat DIY
You may have seen the party hats we made for the kids in our booth at Magnolia last month when we attended Spring at the Silos - major, major hit! While I might be a crazy person for making 80 of them at once, they're simple enough to make for your next party!
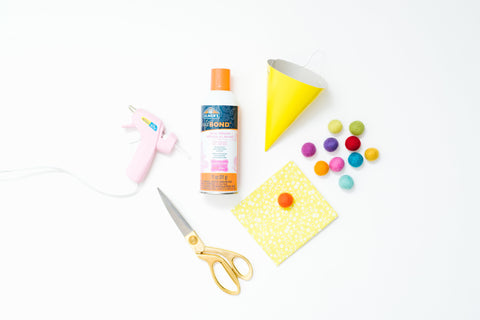
You'll need:
- Store bought party hats
- Fabric
- Spray Glue
- Glue gun + glue sticks
- Scissors
- Felt Balls
Begin by opening the party by bending up the lower tab on the inside of the hat, until it's flush with the opening on the other side. Then slide the top tab out of the opening, slowly, to avoid ripping the hat. Choose the most closely related color of hat to match your fabric. Most fabrics are opaque enough that it won't matter, but just in case, don't choose a blue hat to go under white fabric!
Trace the party hat onto your fabric with a pencil, with the outside part of the hat face down on the wrong (back) side of the fabric. Trim about a half inch away from your tracing, leaving room for precision after it's glued.

Outside, or in a well ventilated area - either on a stretch of newspaper or on the inside of a box - spray the back side of the fabric with the spray glue. Quickly, place the flattened party hat against the glued fabric and pull out any wrinkles in the fabric.

Trim the excess fabric from the two sides, but leave the half inch spare fabric along the bottom.

Don't forget to trim in and around the slits and the tabs.

Along the bottom, make vertical cuts every half inch or so. The spray glue will, at this point, still be a bit tacky - but not enough to ruin your scissors :)

Fold the small cuts of fabric up, into the inside of the party hat. This will create a smooth, glue-free edge along the bottom of the party hat and far away from your kids' hair!

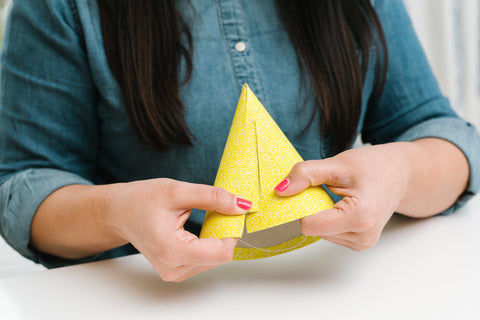
Reassemble the hat by reinserting the tabs into the slit in the hat. This step covers up so many of my imperfections, so if you're stressed about doing it perfectly, this step is all about redemption!
And now decorate! Sky's the limit here - place three down the line (make sure your "line" is opposite the slit in the back and/or centered on the elastic string under the hat.

Felt balls can also be glued around the bottom edge of the hat or randomly placed about the hat.
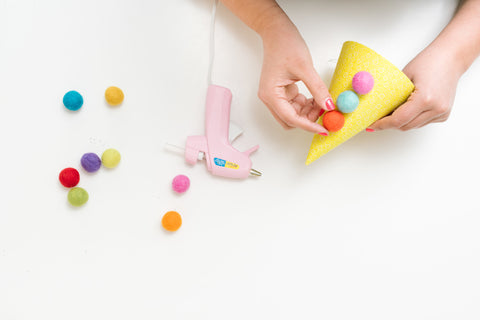
Finish it off with felt ball on top!


For a simple party activity, prepare and assemble the hats up until the point where the felt balls are glued. Depending on their age and trust with a glue gun, use either a high heat or a low temp glue gun and give the kids a little freedom to attache the felt balls where and how they'd like!
For those who didn't catch it on Facebook, I was a guest on the local mid-day news channel, Studio 5. We made up a few spring/Easter garlands, and showed a quick how-to of the party hats! Catch it here.
© 2026 hello maypole. Powered by Shopify


X